Hi friends! Today’s tutorial is Part 03 of the Raspberry Pi learning series. You will learn how to transmit video that from PiCamera library over the wifi. This video stream can be received on any mobile device connected to wifi and can open up an HTML webpage. Again, in this tutorial, we do not require Flask or Django. All we need are two libraries; 1) picamera and 2) pyshine.
Installation
1) picamera If you are using the Raspbian distro, you probably have picamera installed by default. You can determin the installation by trying to import picamera in Python. Anyways, if you have no prior installation of picamera, then use the following commands below:
$ sudo apt-get update
$ sudo apt-get install python-picamera python3-picamera
2) pyshine pyshine is required to enable the streaming features in this tutorial. So you can use the latest version 0.0.9 as:
pip3 install pyshine==0.0.9
Please note that you can easily observe the current IP address of the Raspberry Pi. The code below will work on RPi which has same wifi router.
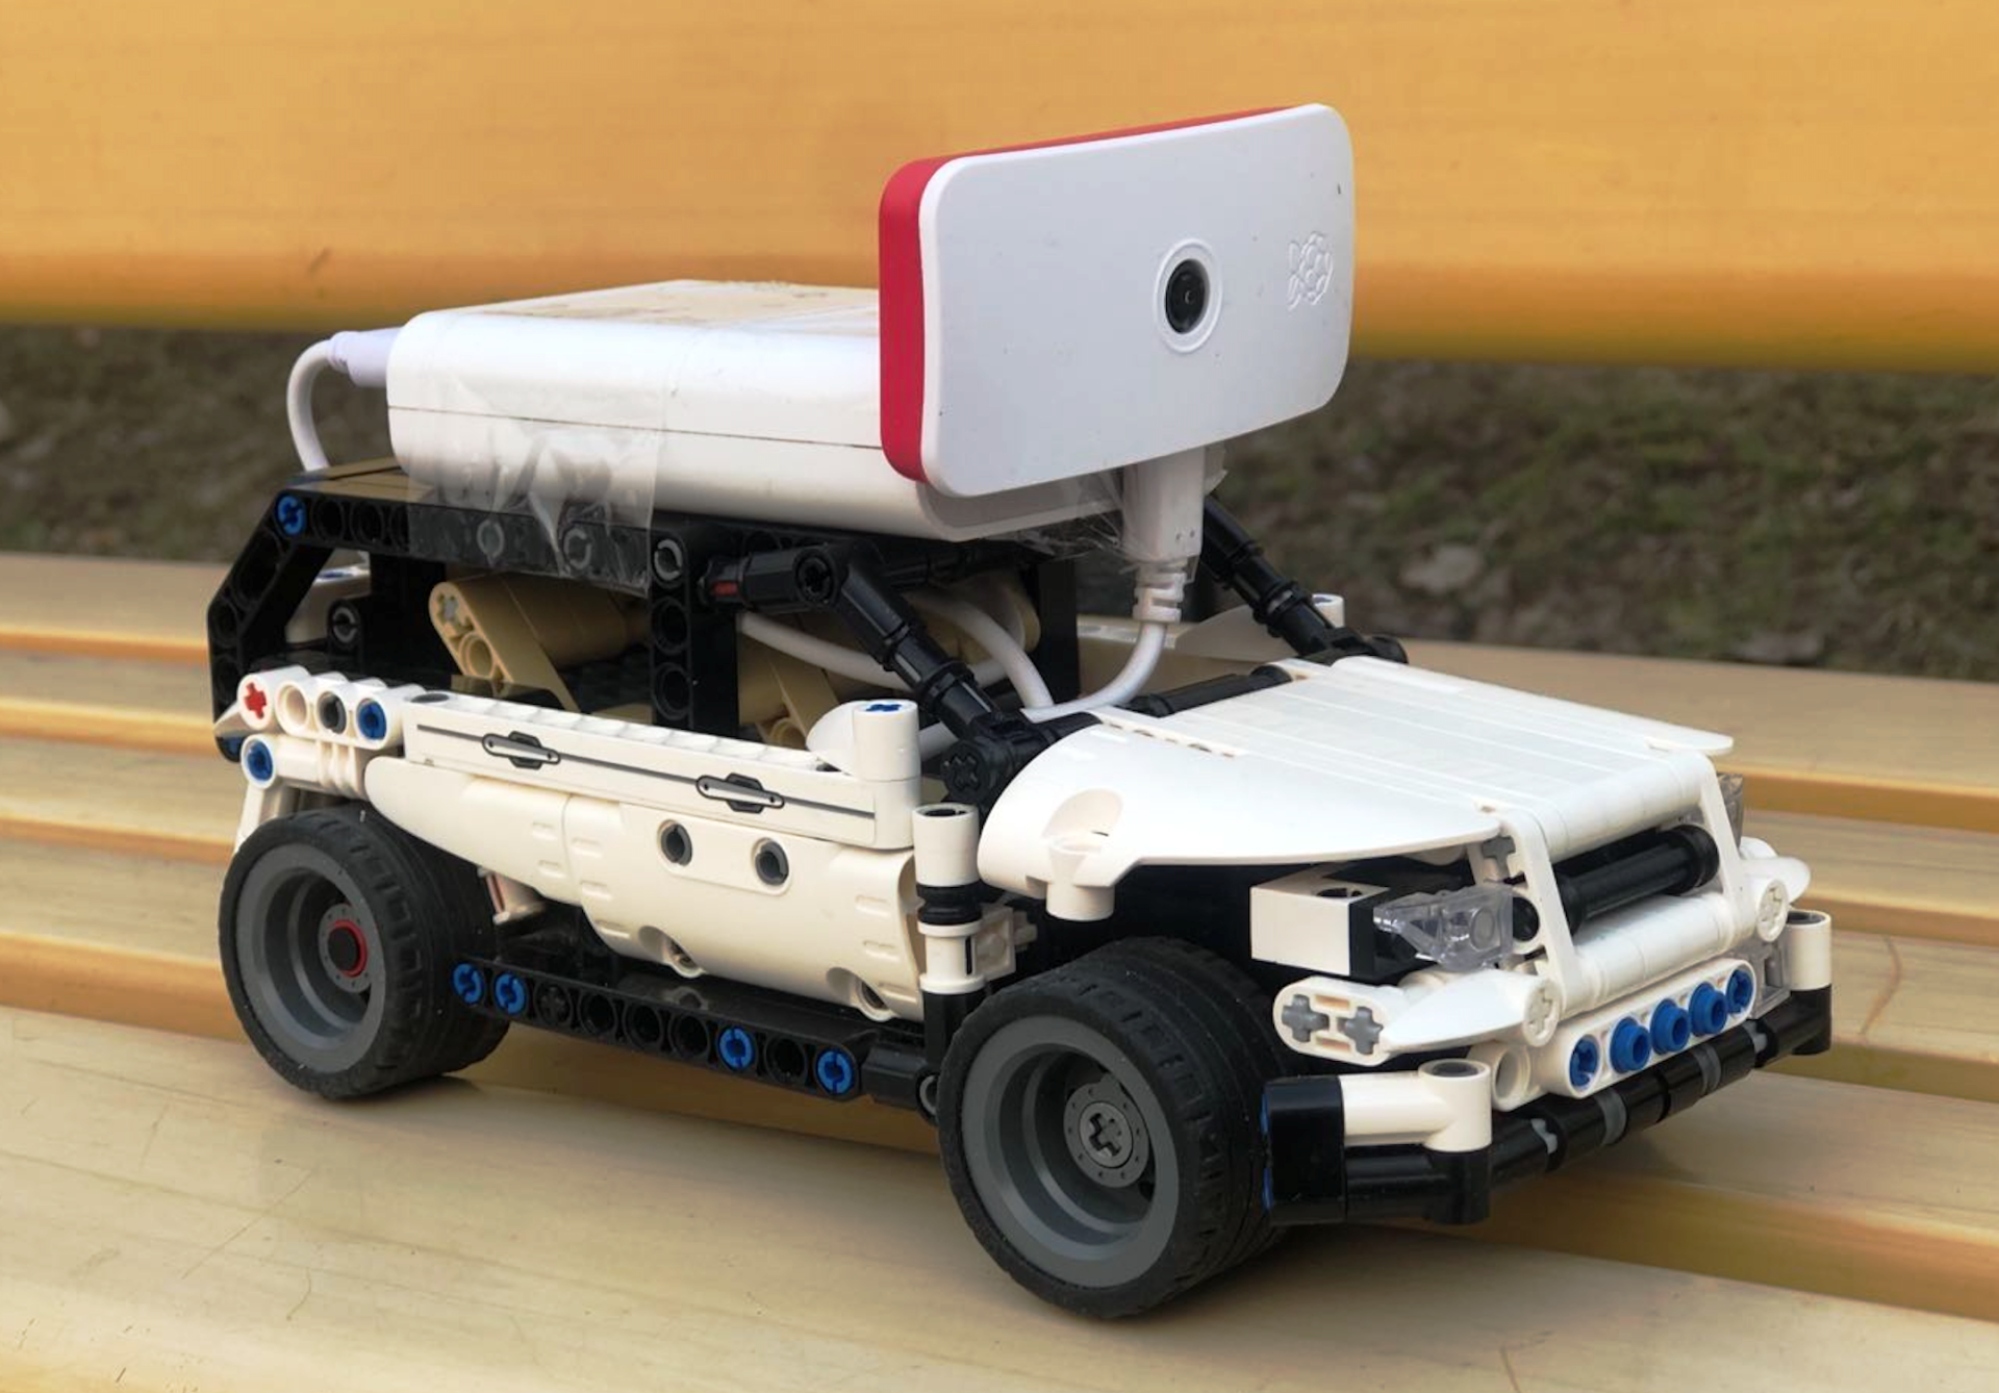
We will use raspberry pi zero board in this tutorial, but theoretically, you can use any other boards as long as they have the Python3 installed and access wifi. The wifi standard used in RPi zero is IEEE 802.11n, which relatively supports a longer distance of about 200 m in Line of sight theoretically. However, the range also depends on antenna characteristics and, of course, the transmission power. For this purpose, we need a main.py code as shown below, which will use the docstring of an HTML page and pass it to the streaming server through pyshine library. The HTML page will get the mjpeg stream plays it in an inline fashion.
From our previous tutorials, you may already have known the idea to get the IP address of your device. Let’s say your IP address is 192.168.1.1, then the following code is all we need to observe the video stream in another device’s webbrowser.
main.py
## Part 03 using opencv access webcam and transmit the video in HTML
import picamera
import  pyshine as ps #  pip3 install pyshine==0.0.9
HTML="""
<html>
<head>
<title>PyShine Live Streaming</title>
</head>

<body>
<center><h1> PyShine Live Streaming using PiCamera </h1></center>
<center><img src="stream.mjpg" width='640' height='480' autoplay playsinline></center>
</body>
</html>
"""
def main():
    StreamProps = ps.StreamProps
    StreamProps.set_Page(StreamProps,HTML)
    address = ('192.168.1.1',9000) # Enter your IP address
    StreamProps.set_Mode(StreamProps,'picamera')
    with picamera.PiCamera(resolution='640x480', framerate=30) as camera:
        output = ps.StreamOut()
        StreamProps.set_Output(StreamProps,output)
        camera.rotation = 90
        camera.start_recording(output, format='mjpeg')
        try:
            server = ps.Streamer(address, StreamProps)
            print('Server started at','http://'+address[0]+':'+str(address[1]))
            server.serve_forever()
        finally:
            camera.stop_recording()


if __name__=='__main__':
    main()
Copy this code to a main.py file and paste that file in the Raspberry pi that already has camera enabled. To run the code:
python3 main.py
After that you will see these messages in terminal window:
Warning! PortAudio library not found
Warning! No module named 'matplotlib'
Warning! No module named 'keras'
Server started at http://192.168.1.1:9000
Ignore the warnings and copy the address http://192.168.1.1:9000 and paste it to the browser of your pc or mobile device that is on the same wifi network. And there you go, now you can view in the browser what the camera of your RPi is providing to you.
But wait a minute, what if you don’t have a wifi router and you want to connect RPi in Ad Hoc mode. The whole idea is to configure RPI’s wifi interface in Adhoc mode, so that it can be connected to a PC/Mobile device without any wifi router. Yes, in this mode we can enjoy First Person View (FPV) capabilities of RPi. By simply writing an auto run script in Python that will be called once the RPi is ever booted up, we can run the above code in it. In this way, you can also enjoy point to point FPV link, where the video from RPi is transmitted straight to your mobile device. The RPi zero is only 9g in weight, which means you can use it with drones as well. The frame size is kept 640x480 to reduce the latency, which is essential for FPV based vehicles/drones. To configure the Raspberry pi in Adhoc mode please follow our upcoming tutorial here https://pyshine.com/How-to-configure-Raspberry-Pi-in-Ad-hoc-wifi-mode/
Have a nice day! Enjoyed this post? Never miss out on future posts by following us